Cloud Upgrade Procedure
This procedure describes how to upgrade OVOC on the Azure and AWS platforms.
|
➢
|
To upgrade the OVOC server on Azure and AWS: |
|
1.
|
Download the DVD3.ISO file Version 8.4.3500 to your PC. |
|
2.
|
Using the WinSCP utility (see Transferring Files) transfer the DVD3.ISO to the OVOC server acems user home directory: /home/acems
|
|
3.
|
Open an SSH connection. |
|
4.
|
Login into the OVOC server as ‘acems’ user with password acems (or customer defined password). |
|
5.
|
Switch to 'root' user and provide root password (default password is root): |
su – root
|
6.
|
Mount the DVD to make it available: |
mount /home/acems/DVD3_OVOC_8.4.3500.iso /mnt
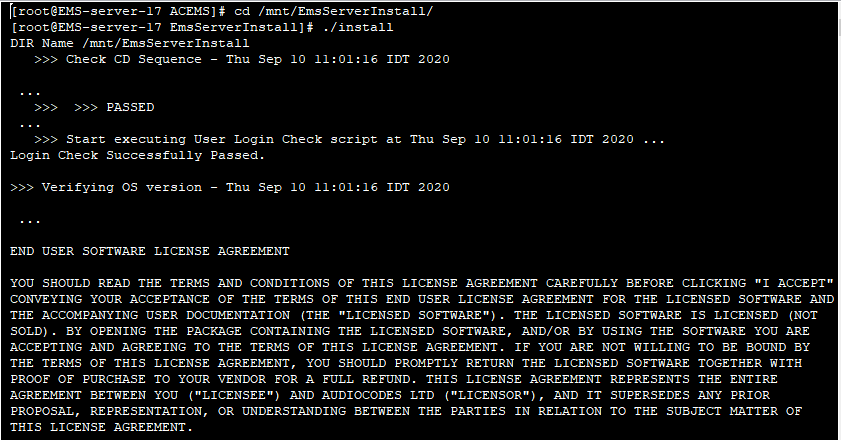
cd /mnt/EmsServerInstall/
|
7.
|
Run the installation script from its location: |
./install
OVOC server Installation Script
|
8.
|
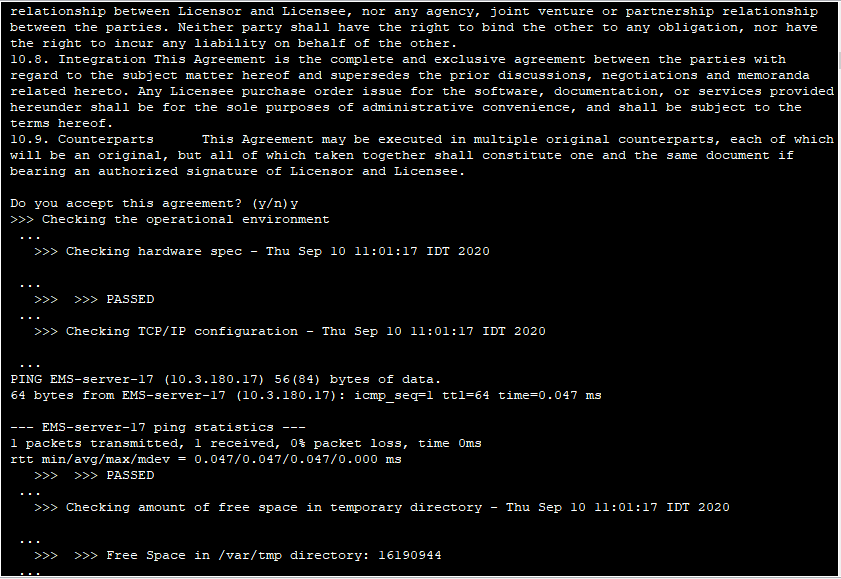
Enter y, and then press Enter to accept the License agreement. |
OVOC server Upgrade – License Agreement

|
9.
|
You are prompted to either run a Full Upgrade procedure affecting QoE data (Calls, Calls Details and Calls Statistics) and Performance Monitoring data. As an alternative, you can run a shorter execution, however in this case, existing QoE and Performance Monitoring data is not saved. Enter y to run the full Upgrade. |
|
●
|
Upgrade with migration can be very long (8 hours or longer), depending on the number of tenants, volume of QoE data, and data distribution. |
|
●
|
Due to Postgres slowness with a large number of partitions, the upgrade is prevented depending on the number of partitions (which is approximately calculated as the number of tenants): |
|
✔
|
Approximately 5 tenants for VM Low profile (depending on QoE data and distribution) |
|
✔
|
Approximately 20 tenants for VM High profile (depending on QoE data and distribution) |
|
✔
|
SP spec – no limitation |
|
10.
|
The process installs OS packages updates and patches. After the patch installation, reboot might be required: |
|
●
|
If you are prompted to reboot, press Enter to reboot the OVOC server and then repeat steps 2-7 (inclusive). |
OVOC Server Installation Complete

|
11.
|
Wait for the installation to complete and reboot the OVOC server by typing reboot. |
|
12.
|
Login to the OVOC server by SSH, as ‘acems’ user and enter password acems. |
|
13.
|
Switch to 'root' user and provide root password (default password is root): |
su - root
|
14.
|
Type the following command: |
# OvocServerManager
|
15.
|
Verify that all processes are up and running (Viewing Process Statuses), data and configuration has been restored, and verify that you can login to the the OVOC Web client. |